
KerasでSTL-10を扱う方法

スタンフォード大学が公開している画像データセットに「STL-10」というのがあります。これはCIFAR-10に似た形式ながら、高画質かつ教師なし学習にも応用できる便利なデータです。PyTorchではtorchvisionを使うと簡単に読み込めるのですが、Kerasではデフォルトで容易されていないので自分で読み込むコードを書かないといけません。それを見ていきます。
STL-10のサイト:https://cs.stanford.edu/~acoates/stl10/
目次
STL10のデータローダー
Kerasで使うことを想定したものです。CIFAR-10の要領でSTL10()とインスタンスを作り、get_files()を読み込ませればOKです。これはSTL-10のPython実装を参考に自分で書きました。
import sys, os, urllib.request, tarfile
import numpy as np

class STL10:
    def __init__(self, download_dir):
        self.binary_dir = os.path.join(download_dir, "stl10_binary")

        if not os.path.exists(download_dir):
            os.mkdir(download_dir)
        if not os.path.exists(self.binary_dir):
            os.mkdir(self.binary_dir)

        # download file
        def _progress(count, block_size, total_size):
            sys.stdout.write('\rDownloading %s %.2f%%' % (source_path,
                float(count * block_size) / float(total_size) * 100.0))
            sys.stdout.flush()

        source_path = "http://ai.stanford.edu/~acoates/stl10/stl10_binary.tar.gz"
        dest_path = os.path.join(download_dir, "stl10_binary.tar.gz")
        if not os.path.exists(dest_path):
            urllib.request.urlretrieve(source_path, filename=dest_path, reporthook=_progress)
            # untar
            with tarfile.open(dest_path, "r:gz") as tar:
                tar.extractall(path=download_dir)

    def get_files(self, target):
        assert target in ["train", "test", "unlabeled"]
        if target in ["train", "test"]:
            images = self.load_images(os.path.join(self.binary_dir, target+"_X.bin"))
            labels = self.load_labels(os.path.join(self.binary_dir, target+"_y.bin"))
        else:
            images = self.load_images(os.path.join(self.binary_dir, target+"_X.bin"))
            labels = None
        return images, labels

    def load_images(self, image_binary):
        with open(image_binary, "rb") as fp:
            images = np.fromfile(fp, dtype=np.uint8)
            images = images.reshape(-1, 3, 96, 96)
            return np.transpose(images, (0, 3, 2, 1))

    def load_labels(self, label_binary):
        with open(label_binary) as fp:
            labels = np.fromfile(fp, dtype=np.uint8)
            return labels.reshape(-1, 1) - 1 # 1-10 -> 0-9
ダウンロードから読み込みまで一括でやっています。ハッシュチェックなどは入れていません。ファイルがあるかどうかで見ているので、ダウンロードが途中で中断されてしまった場合は、ファイルを消してもう一度実行してください。
以下のように使います。使い方はKerasのdatasetsにあるMNISTやCIFARと同じです。ただ、コンストラクタの引数にデータをダウンロードするディレクトリを指定できます(ここらへんはPyTorch方式です)。
stl10 = STL10("./data")
X, y = stl10.get_files("train")
get_filesの引数にはtrain, test, unlabeledのいずれかが入ります。これはSTL-10がラベル付けされたデータ(train, test)、とラベル付けされていないデータ(unlabeled)の2種類からなることによります。ラベル付けされていないデータでは、ラベルつまりyが与えられていません。つまり、unlabeledなデータを読み込みたい場合には、
X = stl10.get_files("unlabeled")
となります。
カスタムジェネレーター(オプション)
このままKerasにImageDataGenerator使ってもよいのですが、unlabeledをImageDataGeneratorに突っ込むと全体がfloat32にキャストされる都合上、無駄にメモリを消費(10~12GB)するという仕様があります。そのためuint8で与えて、バッチに応じてfloat32にキャストするようなジェネレーターを定義したほうがメモリ効率はぐっと良くなります。詳しくは以下の記事に書きました。
KerasのImageDataGeneratorのメモリ消費を約1/4にする方法
https://qiita.com/koshian2/items/aff7c2b5a289c8202489
この記事と同一ですがコードを記しておきます。ImageDataGenerator.flowと同じ要領で使えます。
class CustomGenerator:
    def flow(self, X, y=None, batch_size=32, shuffle=True):
        if not y is None:
            assert X.shape[0] == y.shape[0]
        n_sample = X.shape[0]
        assert batch_size <= n_sample
        n_batch = n_sample // batch_size

        while True:
            indices = np.arange(n_sample)
            if shuffle:
                np.random.shuffle(indices)

            for i in range(n_batch):
                current_indices = indices[i*batch_size:(i+1)*batch_size]
                X_batch = (X[current_indices] / 255.0).astype(np.float32)
                if y is None:
                    yield X_batch
                else:
                    y_batch = (y[current_indices]).astype(np.float32)
                    yield X_batch, y_batch
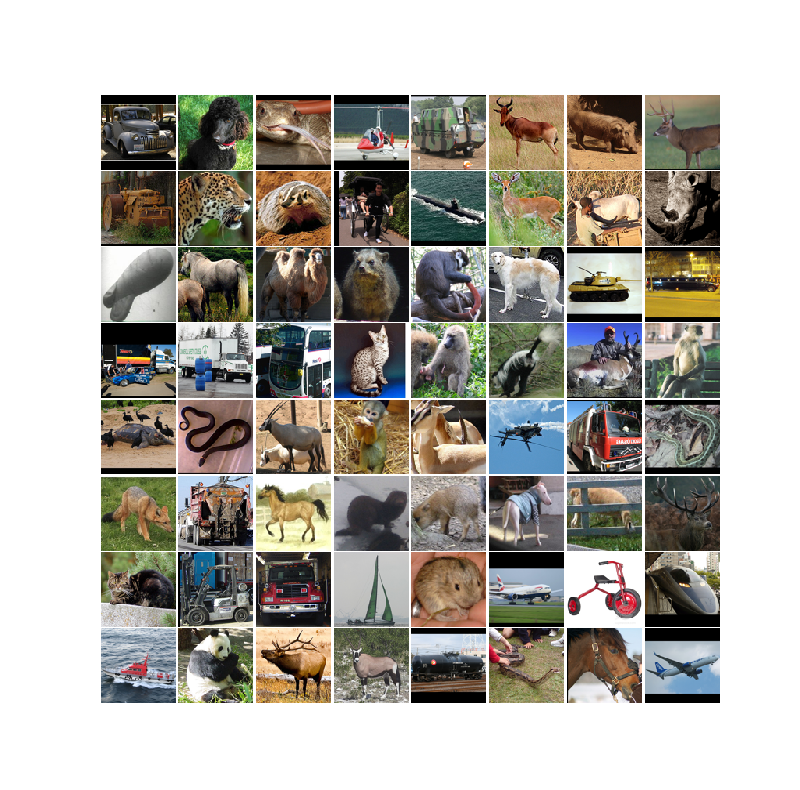
可視化してみる
STL-10の中身の画像を表示してみましょう。pyplotで表示させるための関数です。
import matplotlib.pyplot as plt

def keras_test(data_type):
    stl10 = STL10("./data")
    datagen = CustomGenerator()

    if data_type in ["train", "test"]:
        X, y = stl10.get_files(data_type)
        X_batch, y_batch = next(datagen.flow(X, y, batch_size=64))
    else:
        X, _ = stl10.get_files(data_type)
        X_batch = next(datagen.flow(X, batch_size=64))
        y_batch = None

    fig = plt.figure(figsize=(8, 10))
    fig.subplots_adjust(hspace=0.3, wspace=0.02)
    for i in range(64):
        ax = fig.add_subplot(8, 8, i+1)
        ax.imshow(X_batch[i])
        if not y_batch is None:
            ax.set_title(str(y_batch[i]), fontsize=8)
        ax.axis("off")
    plt.suptitle(data_type)
    plt.show()
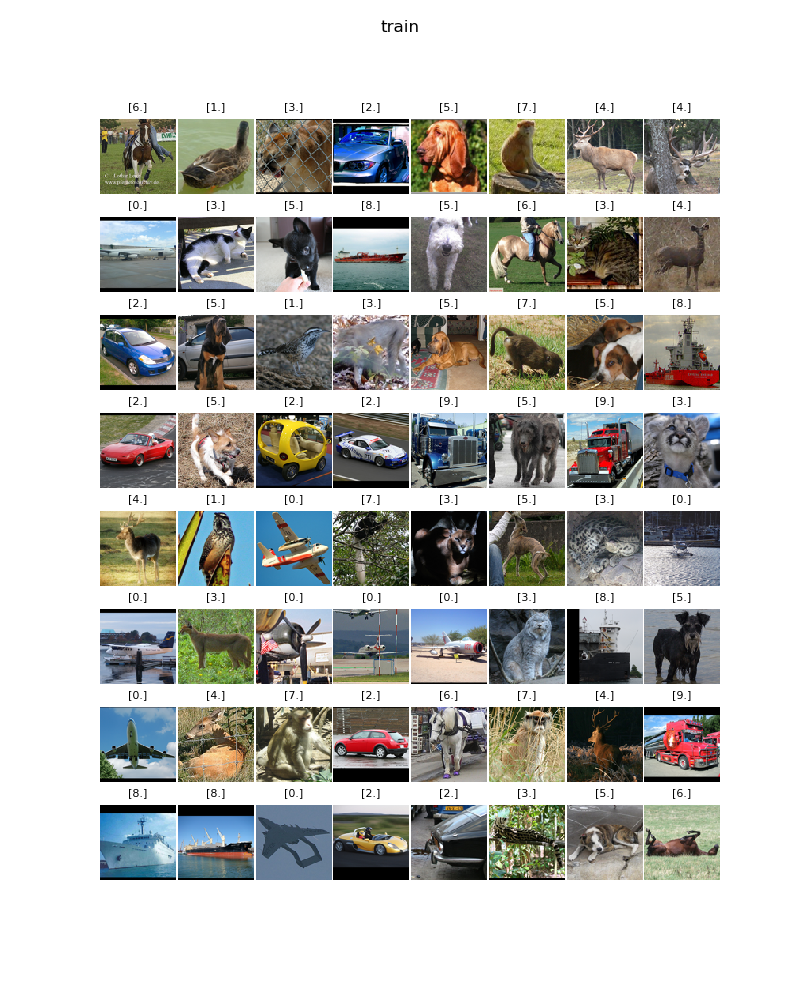
Train
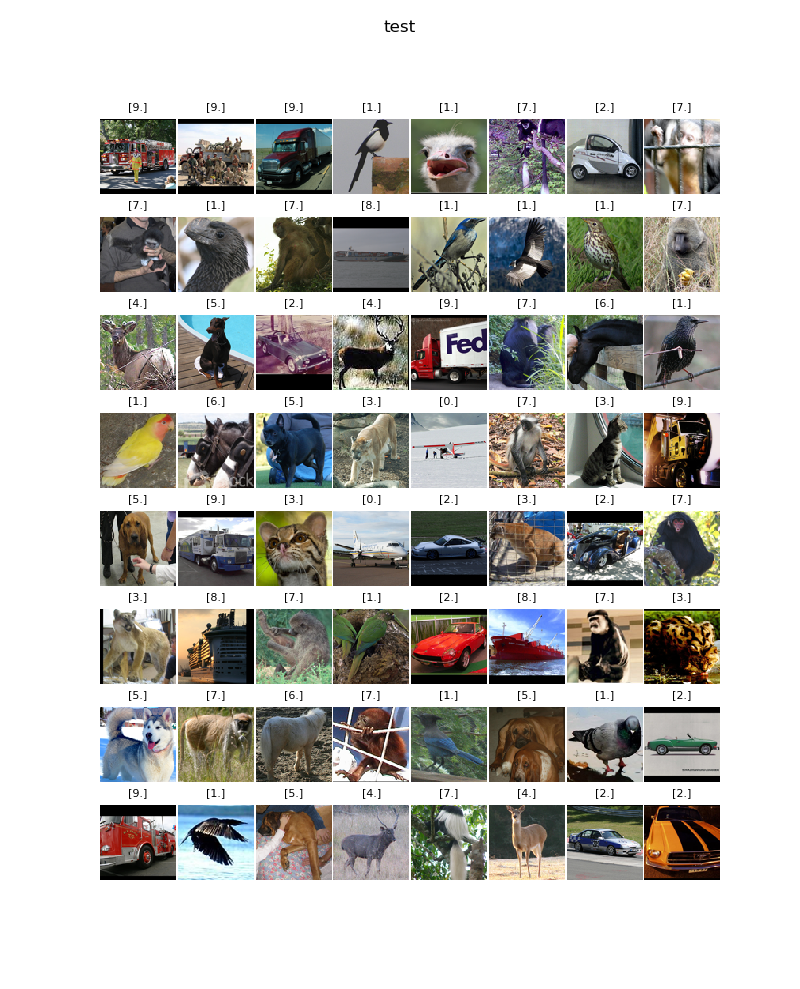
Test
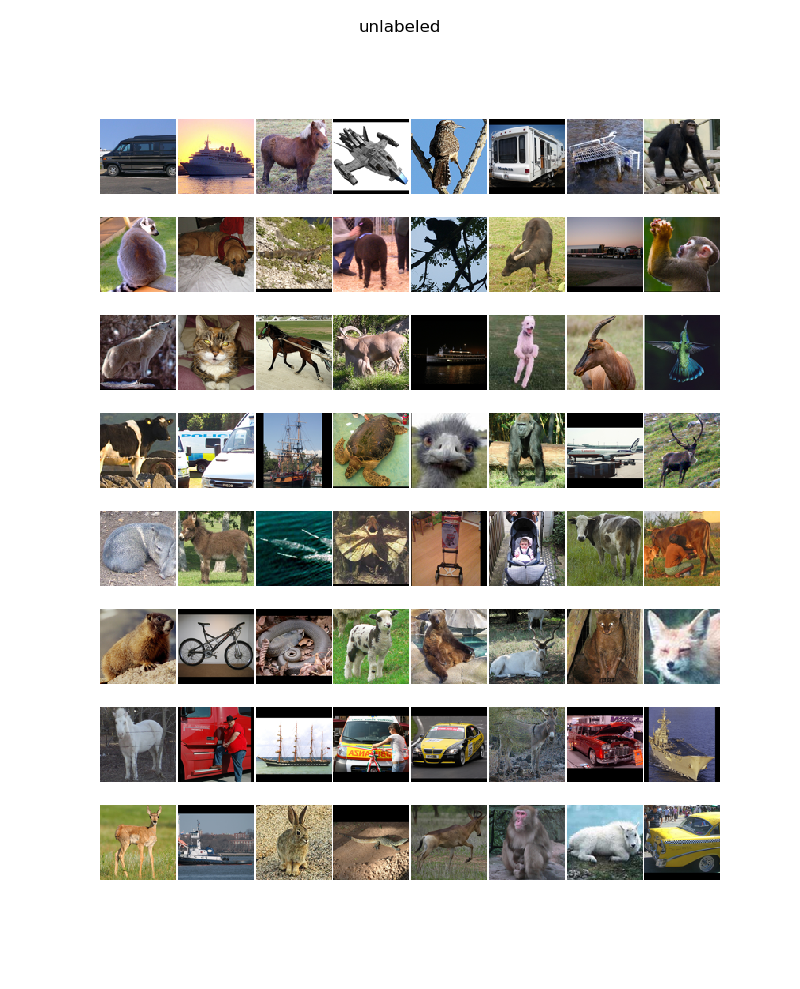
Unlabeled
CNNで分類してみる
STL-10はラベル付けされたデータが少なく本来は教師なし学習用のデータセットですが、一部ラベル付けされているので教師あり学習の分類問題でもできます。CNNで分類してみましょう。
def stl10_cnn():
    input = Input(shape=(96,96,3))
    x = Conv2D(16, 3)(input)
    x = BatchNormalization()(x)
    x = Activation("relu")(x)
    x = MaxPooling2D(4)(x)
    x = Conv2D(32, 3)(x)
    x = BatchNormalization()(x)
    x = Activation("relu")(x)
    x = Flatten()(x)
    x = Dense(10, activation="softmax")(x)

    model = Model(input, x)
    model.compile(Adam(), loss="categorical_crossentropy", metrics=["acc"])

    stl10 = STL10("./data")
    X, y = stl10.get_files("train")
    y = to_categorical(y)
    datagen = CustomGenerator()

    model.fit_generator(datagen.flow(X, y, batch_size=128), steps_per_epoch=X.shape[0]//128, epochs=3)
CPU向けに軽めのCNNにしました。CPUで5分ぐらいで訓練できます。
Epoch 1/3
39/39 [==============================] - 114s 3s/step - loss: 2.4944 - acc: 0.3197
Epoch 2/3
39/39 [==============================] - 111s 3s/step - loss: 1.1882 - acc: 0.5767
Epoch 3/3
39/39 [==============================] - 111s 3s/step - loss: 0.8203 - acc: 0.7220
以上です。これでSTL-10もKerasで使えますね。
Shikoan's ML Blogの中の人が運営しているサークル「じゅ~しぃ~すくりぷと」の本のご案内
技術書コーナー
北海道の駅巡りコーナー